How to Avoid Burrs and Cracks in Acrylic Laser Cutting for Display Parts
Common Quality Issues for Display-Grade Acrylic Cutting
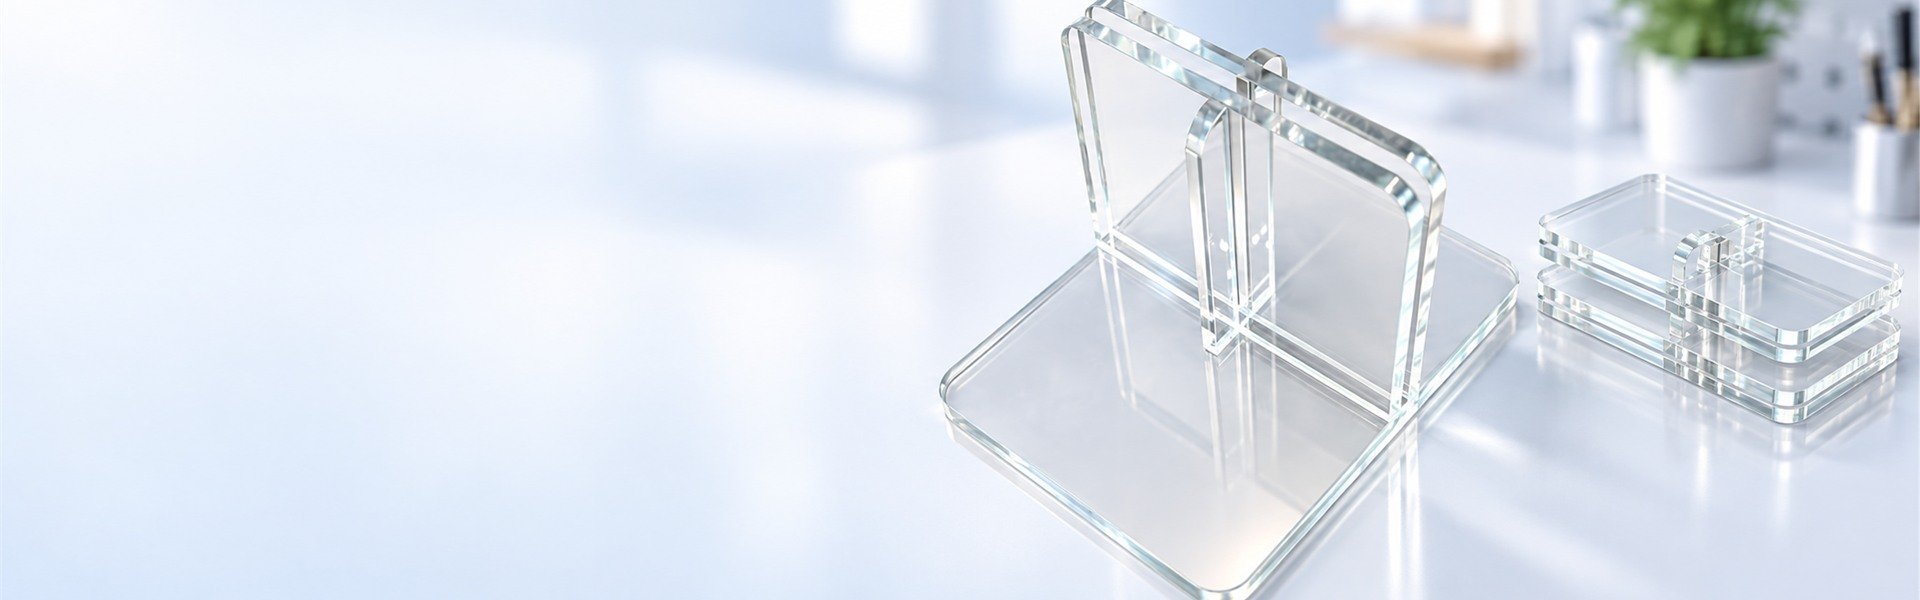
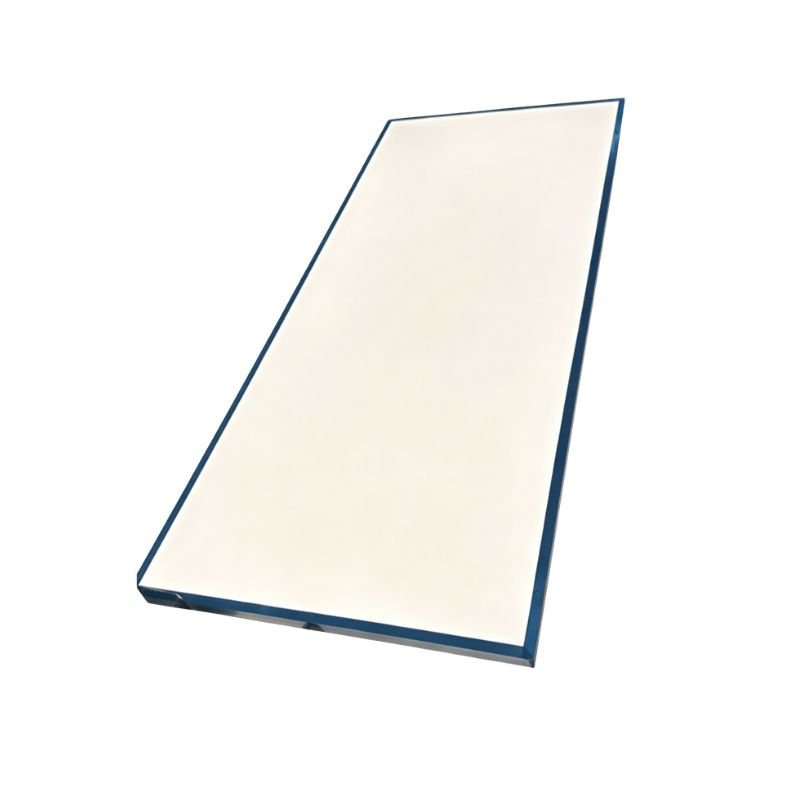
Burrs and surface cracks are the top rejection reasons for acrylic display parts. Even minor flaws cast uneven shadows or cause light leaks when installed in light boxes or illuminated signage, making parts unsuitable for high-end retail or brand environments.
Root Causes of Burrs and Micro-Cracks
Insufficient laser power causes incomplete melting of acrylic material, leaving rough, raised burrs along the bottom of the cut edge. Incorrect cutting speed creates periodic ripple marks that show up clearly in backlit applications. Insufficient gas assist leads to re-molten material buildup on the cut edge. Unreleased internal stress in the sheet can cause cracks to form hours or days after cutting.
Process Controls for Display-Ready Edge Quality
Balanced laser parameters, including matched power, speed, and pulse frequency, create a clean cut without excess heat buildup. Uniform laminar gas flow reduces turbulence in the heat-affected zone to prevent remelted burrs. Pre-cut stress-relief baking of acrylic sheets eliminates internal stress to prevent post-cut cracking. CO₂ laser processing of acrylic creates a natural self-polishing effect that produces clear, transparent edges without secondary finishing.
Visual Quality Checklist for Acrylic Display Parts
Inspect parts under side lighting or backlighting to check for visible burrs, micro-cracks, or ripple marks. Confirm edge clarity matches the surrounding sheet with no cloudy or yellowed areas. Verify edges are smooth to the touch with no raised material that would snag on packaging or assembly components.
Free test cut samples are available for display-grade acrylic projects. Submit your drawing and material specifications to confirm edge finish quality ahead of full-scale production.
PC Polycarbonate Sheet Laser Cutting: How to Prevent Edge Discoloration and Stress Cracking
For thick PC parts deployed in electronic enclosures, medical device housings and safety guards, edge discoloration and residual stress cracking create major sources of rework and production waste. These issues often go undetected until final assembly, driving up overall costs and pushing project schedules back.
Causes of Edge Discoloration and Stress Cracking in Thick PC Sheets
Uneven energy absorption
For sheets 5.0 mm and thicker, laser energy weakens as it penetrates the material, leaving undercut, carbonized yellow edges that are an automatic reject for medical and high-visibility electronics parts.
Residual thermal stress
Rapid heating and cooling during cutting creates invisible micro-cracks. These spread under load in safety guards or snap-fit enclosures and often go undetected until final assembly.
Proven Process Controls for Consistent Thick PC Cutting Quality
Multi-zone inert gas shielding
Layered nitrogen delivery systems deliver full-depth coverage from top to bottom, limiting edge oxidation to less than 0.05 mm with no visible yellowing even on 10.0 mm thick PC sheets.
Thick-stock tuned pulse parameters.
Lower pulse frequency paired with higher peak power reduces per-pulse heat input, shrinking the heat-affected zone from 0.3mm to roughly 0.1mm to cut residual stress significantly.
Step-down post-cut annealing
Gradual controlled cooling after cutting releases nearly all residual thermal stress, lowering post-assembly cracking rates to less than 0.2% for structural parts.
Key Supplier Evaluation Criteria for Thick PC Laser Cutting Projects
Vet thick PC laser cutting suppliers by checking for dedicated thick-stock cutting parameters, post-cut annealing for load-bearing components, and verifiable edge discoloration standards with same-thickness samples.
Send us your drawings for a free DFM review. We can also provide 1–2 free test cut samples.